


Every hunter needs to have an arsenal of gadgets as a means to further their survivability. You’ll have a few items to work with initially, but they aren’t exactly the best in the business. So, if you’re curious about setting up your build, here’s our Mo.Co gadget tier list.
Best Mo.Co Gadgets, ranked
The Splash Heal is the first gadget you’ll receive in Mo.Co, acting as a starter kit for your hunter journey. While it lends a hand in support, other items lean more towards offensive strategies. We’ll begin this Mo.Co tier list with the elite S tier and work our way down to the relatively adequate C ranks.
S Tier
| Gadgets | Description |
|---|---|
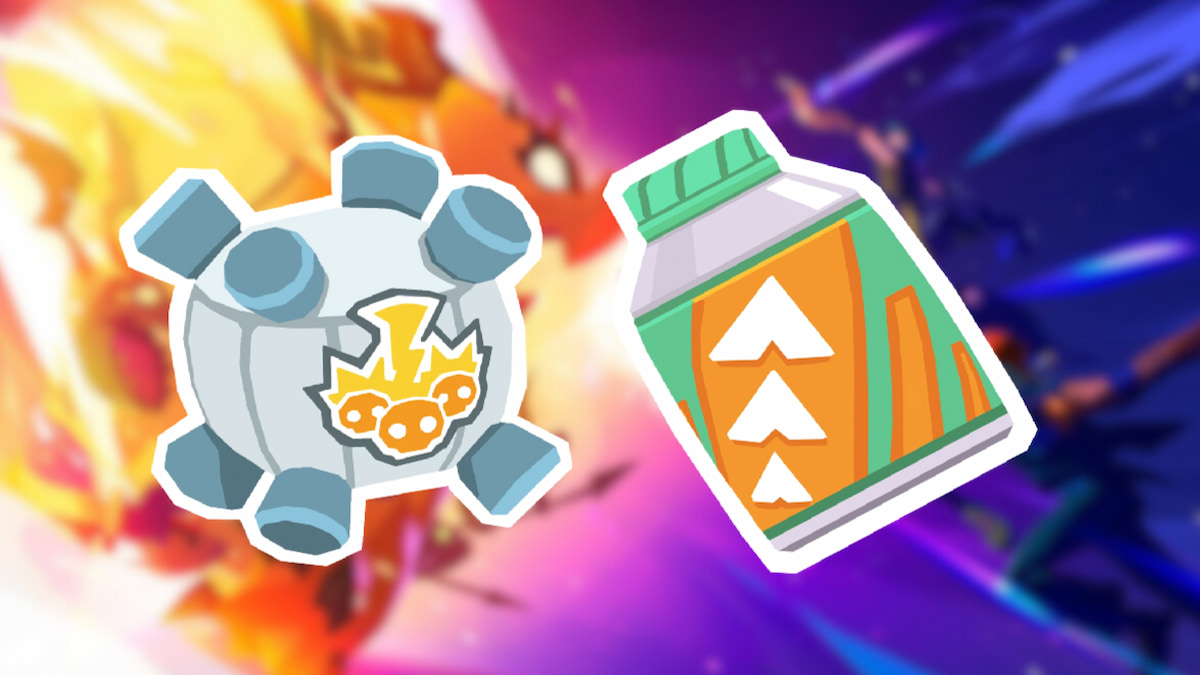
| Vitamin Shot | Increases attack speed and heals you and your pets. |
| Multi Zapper | Launches 12 zaps to damage a random enemy and stun non-boss monsters. |
Since the Vitamin Shot helps out with healing and attacks, it may be one of the most well-rounded gadgets in Mo.Co. Its cooldown rate of 10 seconds can also go by rather quickly, giving you more opportunities to use it in battle. While the Multi-Zapper takes a bit to boot up, this gadget boasts the highest DPS in Mo.Co. Plus, it’ll stun nearby monsters to help you out even more.
A Tier
| Gadgets | Description |
|---|---|
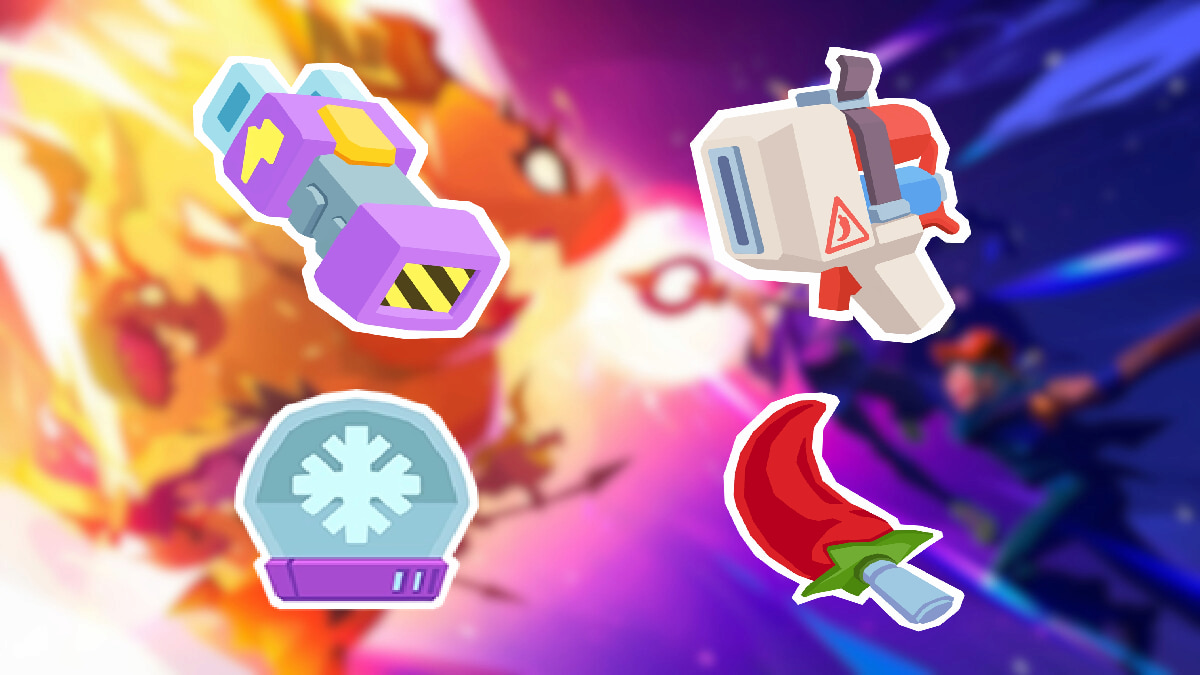
| Monster Taser | Tases the nearest enemy and deals big damage, stunning non-boss monsters. |
| Pepper Spray | Deals area damage multiple times and slow down non-monsters. |
| Snow Globe | Deals area damage around you and over time across a large radius. Slows down all non-boss monsters. |
| Spicy Dagger | Dash towards the closest enemy and deal damage, resulting in 25 percent more damage from your weapon, gadgets, passives, and pets temporarily. Non-boss monsters are also slowed down. |
If you’re tired of waiting for gadget cooldowns, the Monster Taser is the perfect remedy, refreshing every five seconds. Use it to inflict high amounts of damage on a monster and stun nearby enemies. All in all, the entirety of A Tier is designed for tremendous DPS rates, clearing out those pesky monsters in an instant.
B Tier
| Gadgets | Description |
|---|---|
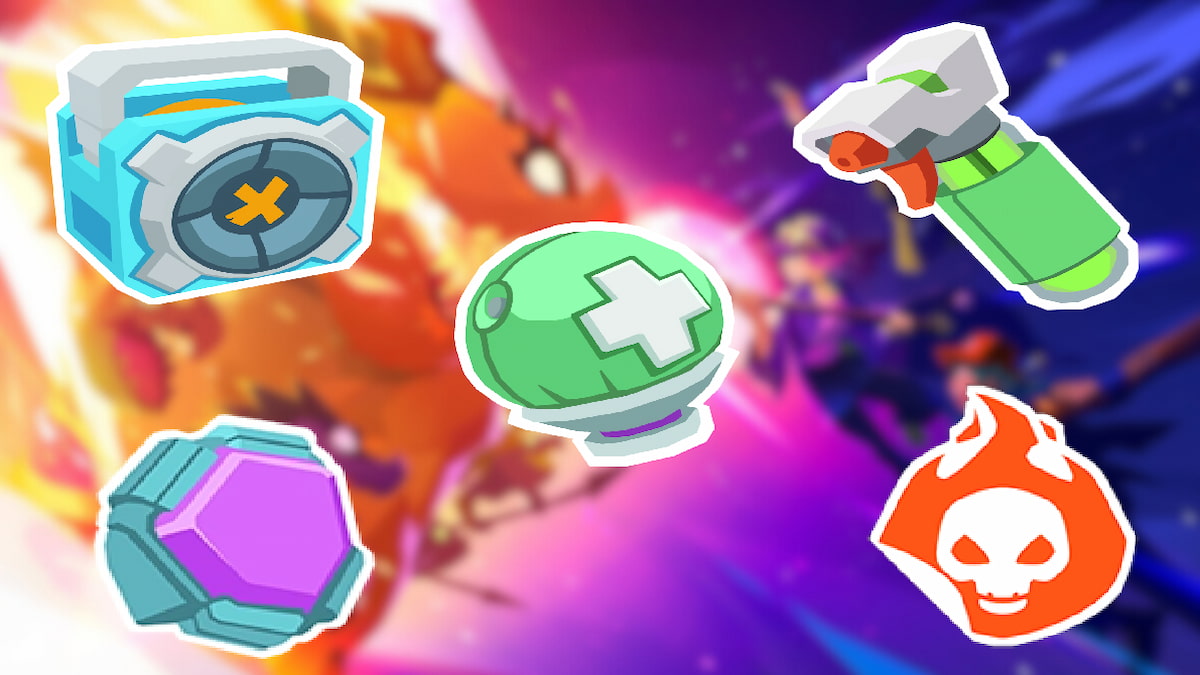
| Splash Heal | Instantly heals you and nearby friendly targets in a large area. |
| Boombox | Deals area damage around you and stuns non-boss monsters. |
| Life Jacket | Shields yourself and your pets temporarily. Deals area damage and stun non-boss monsters when it expires. |
| Revitalizing Mist | Instantly heals you or a friendly target with the lowest health within range. |
| Really Cool Sticker | Your weapon and pets deal extra damage for a short duration. |
The B Tier Mo.Co gadgets cater to specific playstyles, particularly if you’re a support-heavy hunter. Items like Splash Heal, Life Jacket, and Revitalizing Mist are excellent for these types of players; however, they aren’t so great for offense. Fortunately, you can save it as a secondary gadget slot and utilize the other one for attack buffs.
The rest of the B-tier gadgets can be used by those who want to improve their offense. They won’t be as powerful as the S and A Tiers, yet they do have some benefits with decent damage rates.
C Tier
| Gadgets | Description |
|---|---|
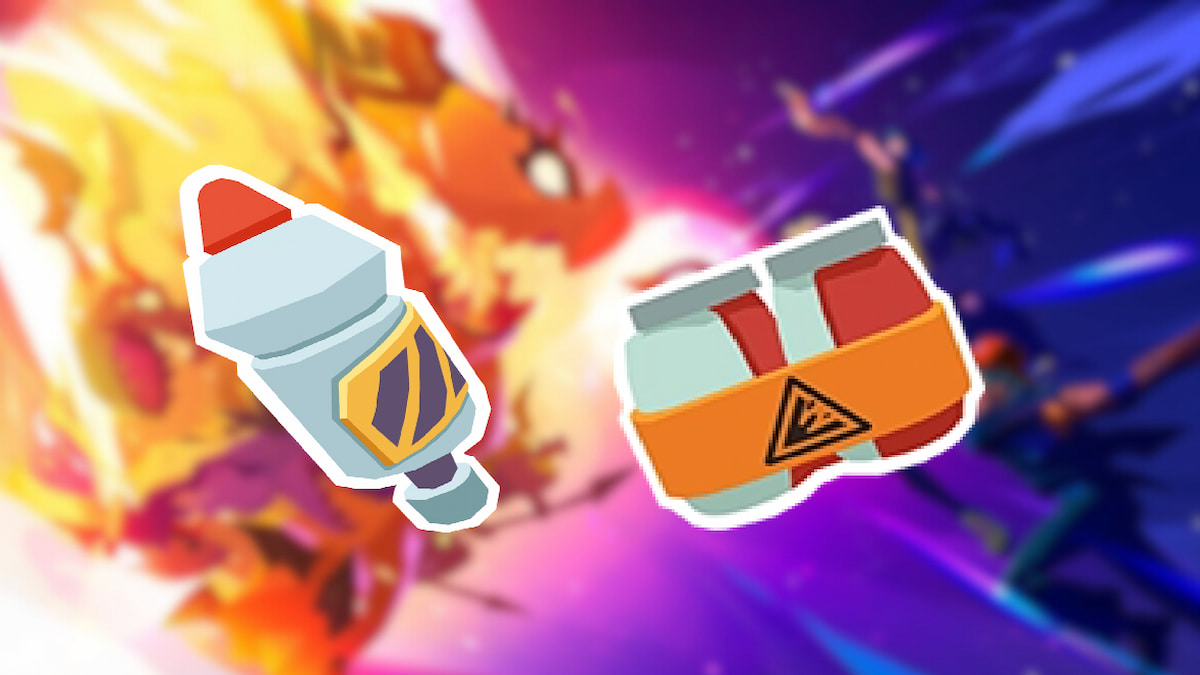
| Smart Fireworks | Use to launch five enemy-seeking fireworks that deal area damage at a long-range. |
| Explosive 6-Pack | Jump and drop bombs in midair to deal area damage. |
Although the Smart Fireworks come in handy during the beginning stages, they won’t be as helpful later on. The other gadgets are just way more robust than this item, but I still suggest using the Smart Fireworks as a starter kit and then advancing further to higher tiers. The same goes for the Explosive 6-Pack, which only has some advantages for DPS.
D Tier
| Gadgets | Description |
|---|---|
| Super Loud Whistle | Taunts monsters to attack you and heals yourself over time. |
| Shelldon | Summon Shelldon to fight alongside you, dealing area damage and taunting monsters to attack him. Shelldon’s strong armor makes him take 50 percent less damage. |
The Super Loud Whistle may be one of the worst gadgets to use in Mo.Co, especially since all surrounding monsters will start gunning for you. Despite its healing properties, opting for the Splash Heal is best. That way, you can replenish your health without any enemies coming for you.
Like the whistle, Shelldon is also relatively ineffective, as it doesn’t stay too long on the battlefield. This gadget’s ability to take in 50 percent less damage doesn’t work all the time, so it’s fairly easy for the enemy to knock it out.
For more Supercell game content, be sure to check out our character tier list and code pieces for Brawl Stars.

